While choosing a platform for mobile app development can be most daunting, creating an app for one platform and making it work for another is nearly impossible even to date. iOS application development companies create a minimum viable product (MVP) – a workable version for one specific platform. The entire app is then created on the same lines, and then a fully integrated app is stress tested, smoke tested, system tested, regression tested, and integration tested before A/B testing. Every step in the process is critical and has to be aligned and scoped with the business strategy and scaling plans.
Performance always remains one major concern during cross-platform app development. Native apps do come across with features like high performance, access to new device-specific features, their own development environment, consistent UI, and better positioning on the stores but the reason to still go for cross-platform app development remains unfazed:
| Differences | Native Apps | Cross-Platform Apps |
|---|---|---|
| Multiple Platform Deployment Costs | Native Application Development always requires adopting a particular architecture for deploying across multiple platforms. This does cost a bit. | Cross-platform app development can help development teams save at least 80% of the project budget. It does not require any additional investment to deploy across various platforms. |
| Development Time | The app source code is to be written separately for each platform. Android SDK, iOS SDK have to be used for different projects. | The code written once can be used across multiple platforms with some modifications to fit into. This way the code is reusable and reduces the time to market. |
| App Users | The business has less chance to grow if they code for only one platform. | A business gets the double benefit as it can be promoted twice, across different platforms, and amongst a different set of users. |
| Design Challenges | Design and development are supported by the services provided by the OS. | Developers need to add some features specific to the platform explicitly, so the design environment does come across some challenges. |
| Programming Expertise | Native Developers do cost more due to the required expertise and are also difficult to obtain. | Most of the cross-platform tools are web-based, so this makes it easy to find people experts in cross-platform app development. |
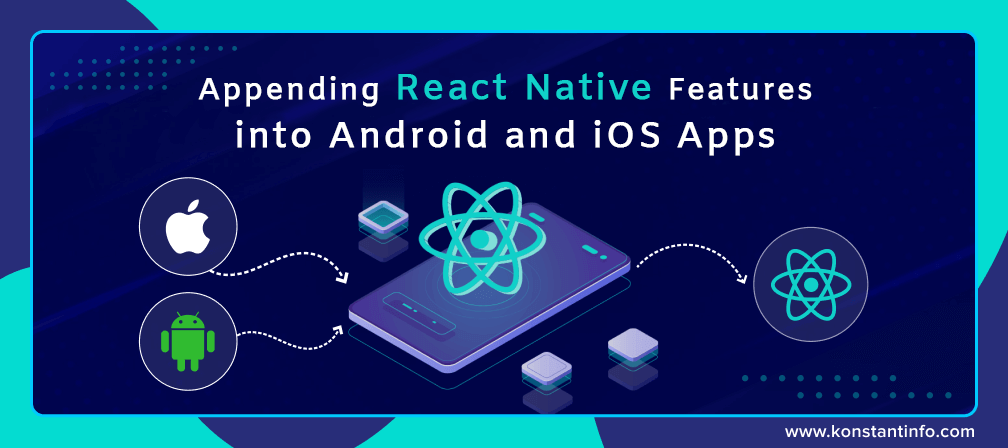
React Native works well if you wish to create an app to run on Android and iOS platforms. However, if you wish to add features into existing applications, React Native is equally good. If you wish to create two versions of the app for different operating systems, you may start writing the program in React Native or may even consider adding a single view or user flow to existing native applications. With just a few steps, you can add new React Native-based features, screens, views, etc.
Some specific steps can be followed depending on the type of platform: iOS (Objective C), Android (Java), iOS (Swift), and iOS (Objective C). So it can be a natively rendered mobile app for iOS or for Android. This framework allows the creation of an application for various platforms by using the same codebase. Follow the following steps to create a React Native mobile app:
We can safely add a single view or a user flow to existing native applications. To integrate React Native components into Android or iOS App, follow these steps:
Integrating React Native Feature into Android App
React powered activity is ready to run some JavaScript code
Development by React Native App saves time and money. Such apps are cross functional and can run across Android and iOS platforms. The resultant apps are highly performant. Over-the-air updates allow users to make changes in the backend while the user is still active on the app. RN apps are open-source with native-like UI tools to customize the application.
Considering the prerequisites mentioned above, you may continue developing your React Native app as usual. We hope the transition went smoothly. If you are interested to know more about React Native, Android, iOS, or our app development services and best practices, check out the offerings here.


Neeti Kotia is a technology journalist who seeks to analyze the advancements and developments in technology that affect our everyday lives. Her articles primarily focus upon the business, social, cultural, and entertainment side of the technology sector.

Or send us an email at: [email protected]